


 after
after
 before
 after
after
 before
 after
after
 before
 after
after
 before
 after
after
 before
 after
after
 before
 after
after
 before
 after
after
 before
 after
after
 before
 after
after
 before
 after
after
 before
 after
after
 before
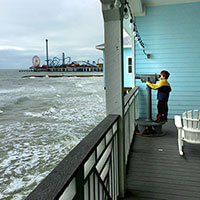
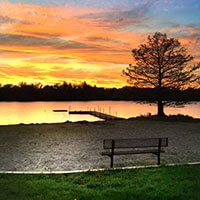
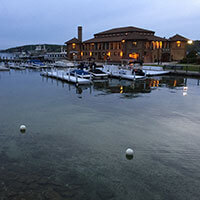
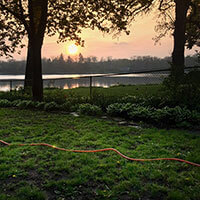
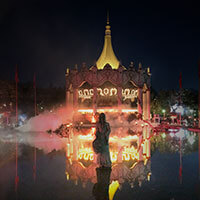
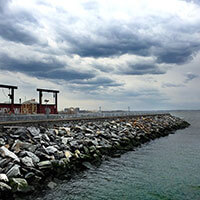
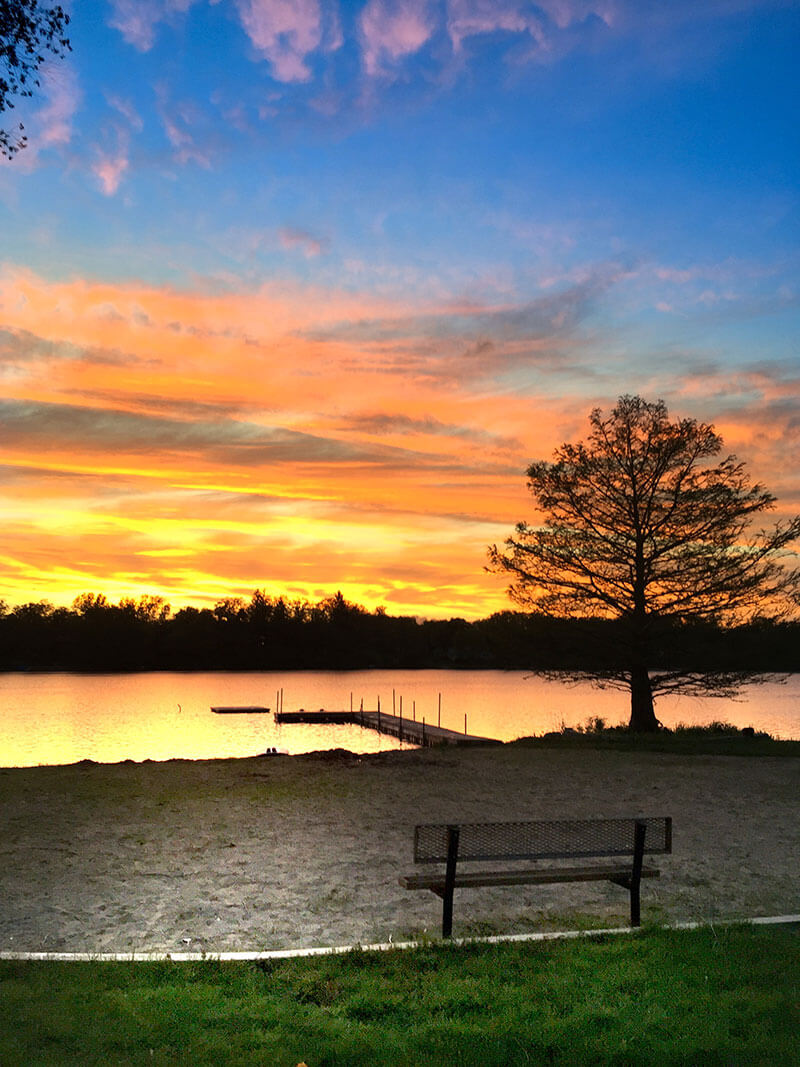
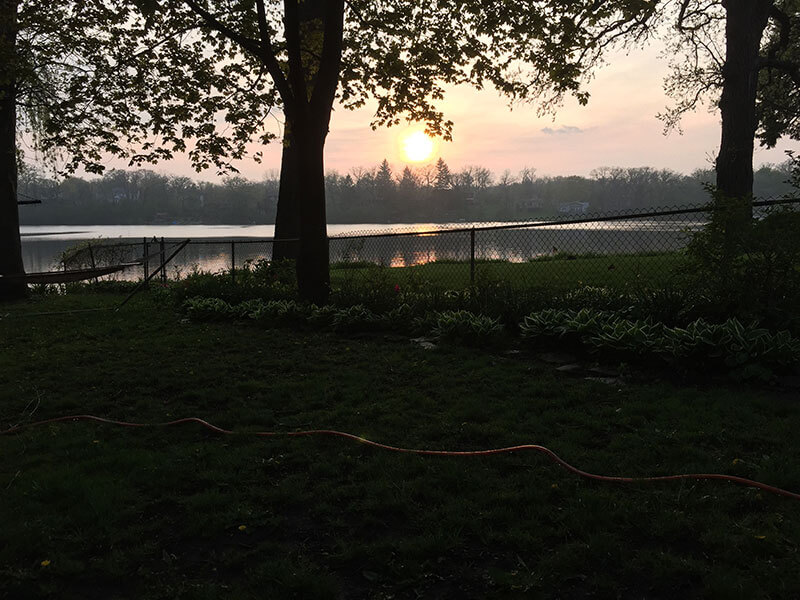
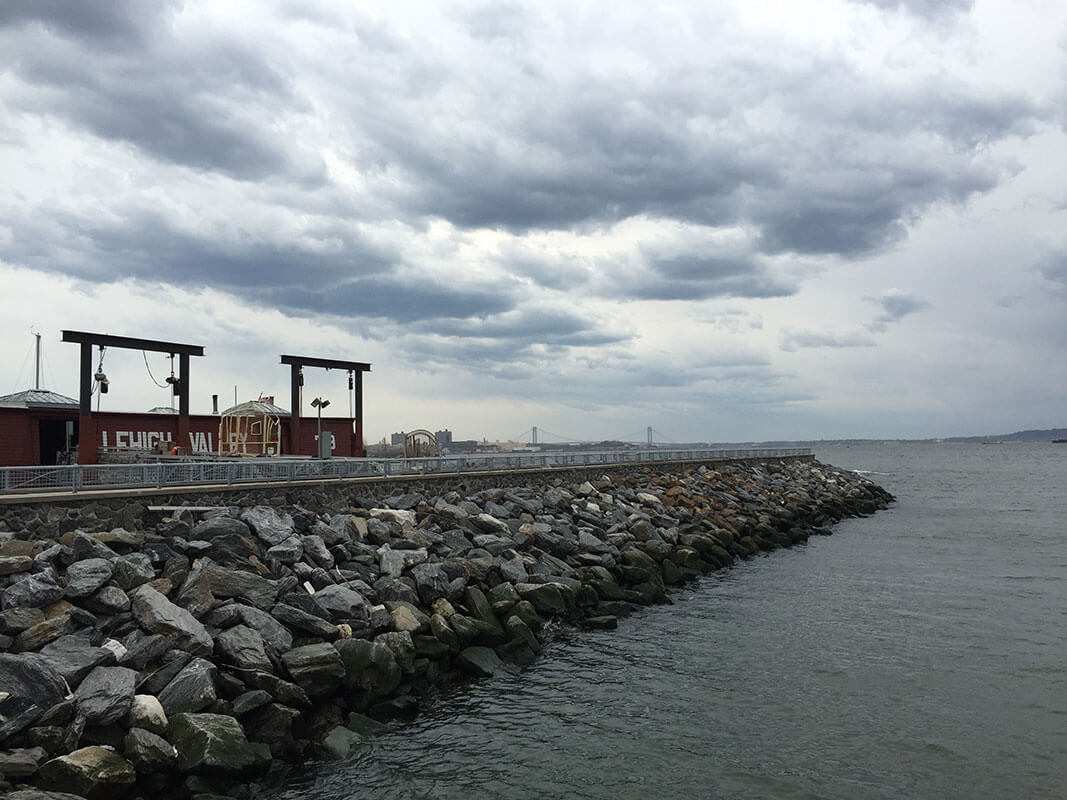
Photography is the capture of light to create an image. Our smartphone cameras aren’t able to capture the full amount of light we can see. Photo editing allows us to make adjustments to improve the look of our photos.
Photo editing apps on the iPhone usually consists of applying a filter to your photo or making adjustments to the entire image at once. Pic Ninja is different. It allows you to adjust a part of your image instead of the entire image. This allows for much more precise editing than is possible with conventional editing apps. Your finished photo will look superior to anything you can get from a photo filter.
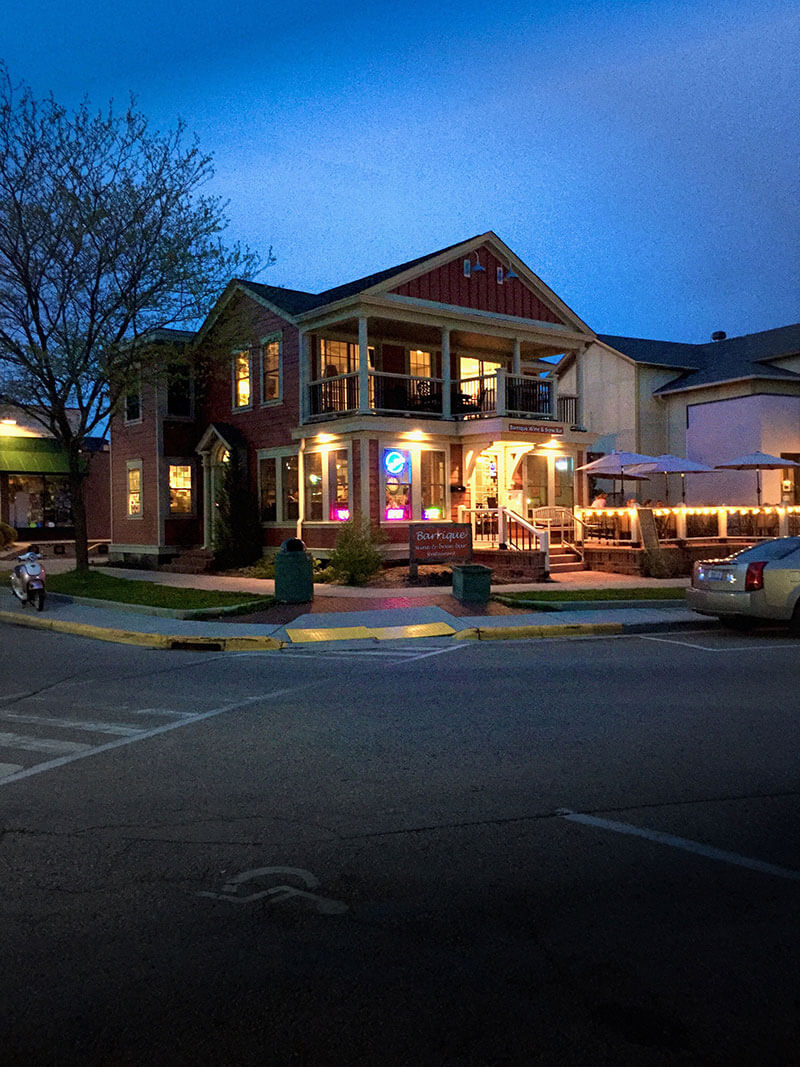
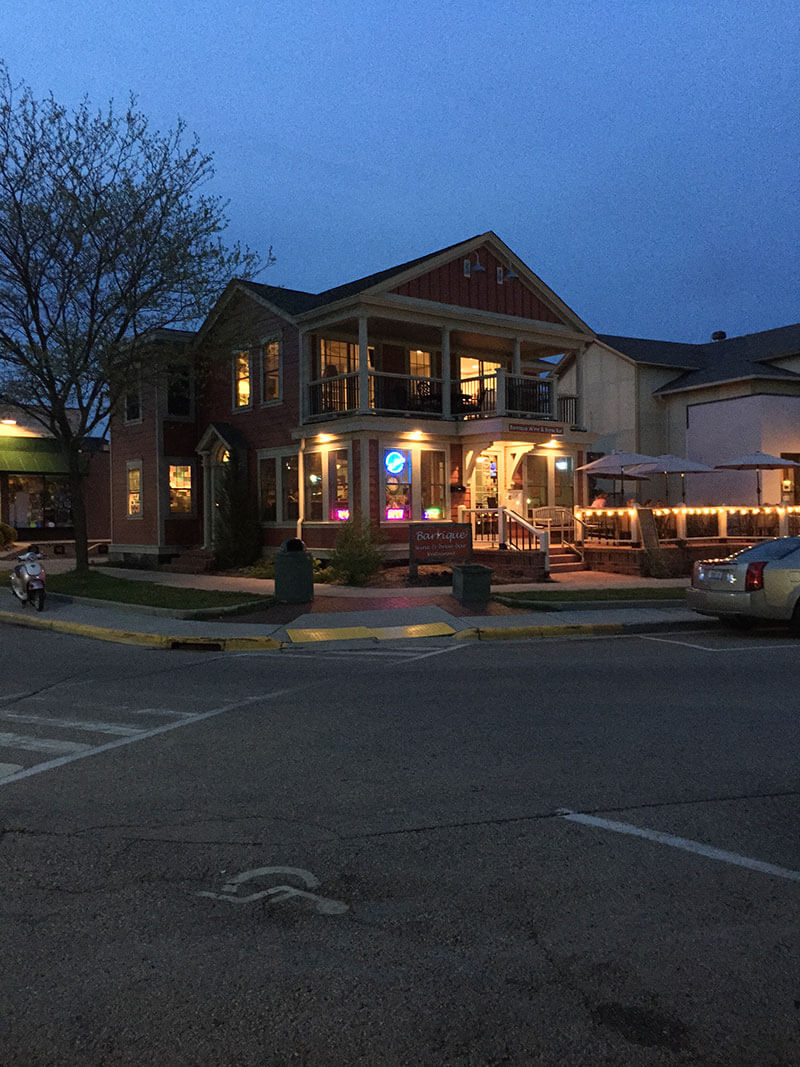
In Pic Ninja you start by selecting the type of mask you wish to use. You can select from the following mask types:
Then for each mask type you are provided with the same selection of filters which can operate either inside or outside of your selected mask. You can select from the following filters:
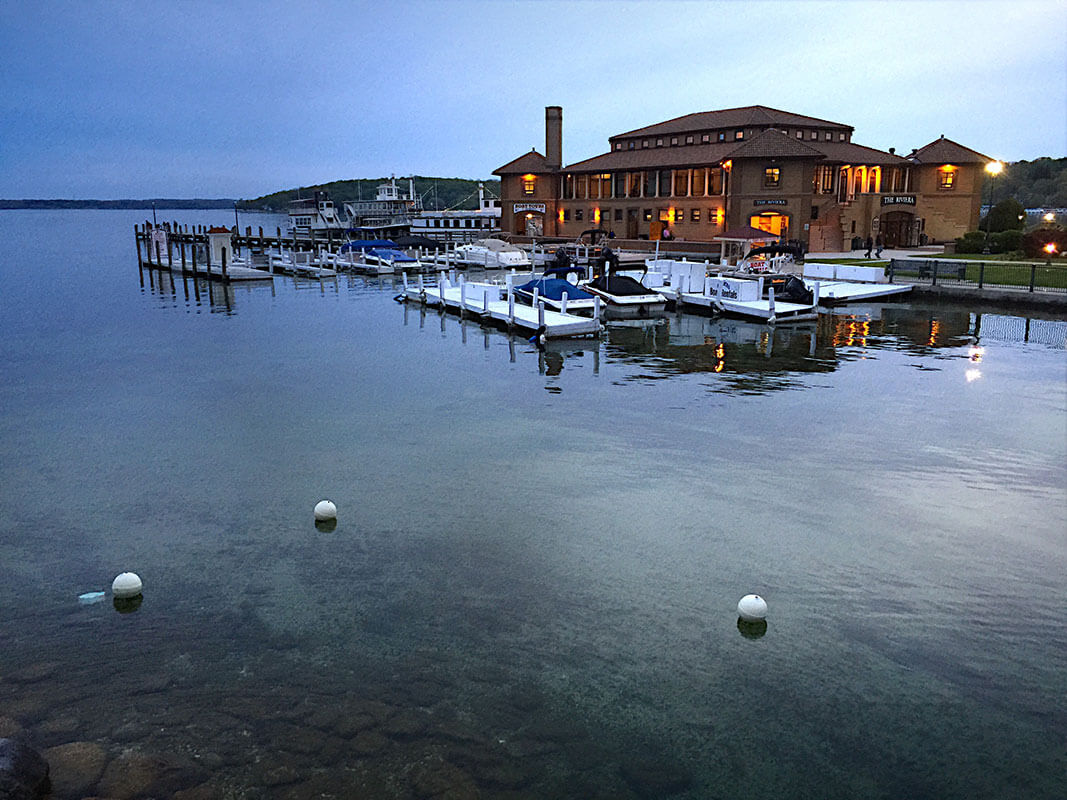
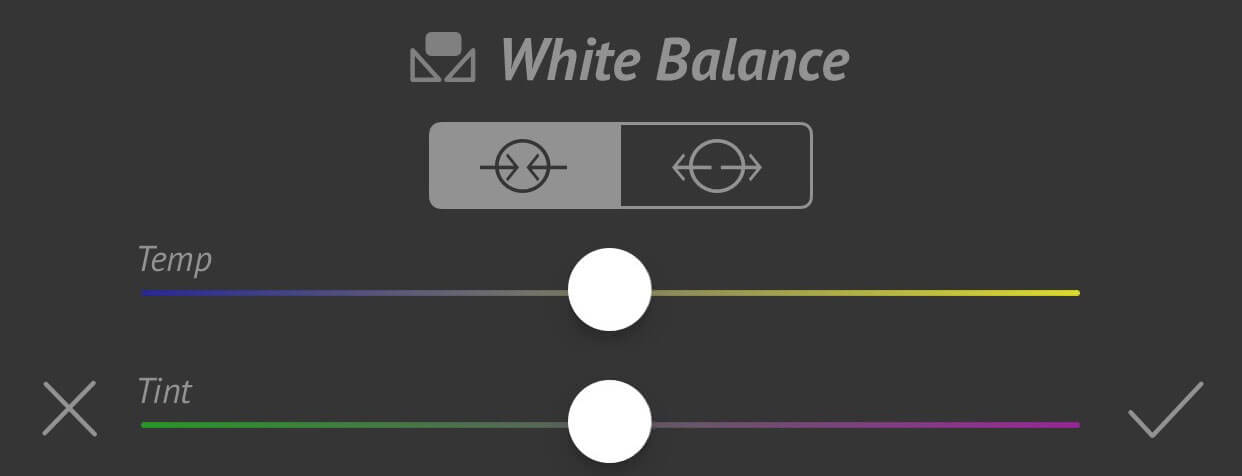
Here is an example of the sliders for white balance. The top two buttons control whether you want the adjustment applied inside the mask or outside the mask. The sliders control the white balance color adjustments.
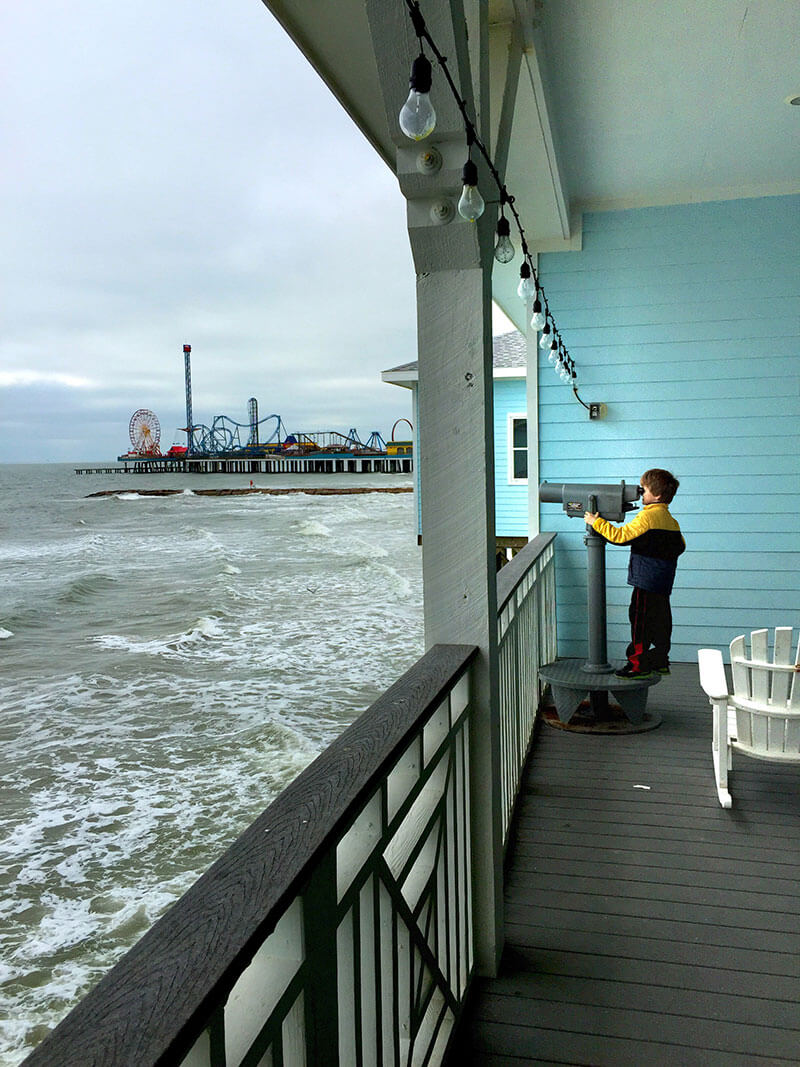
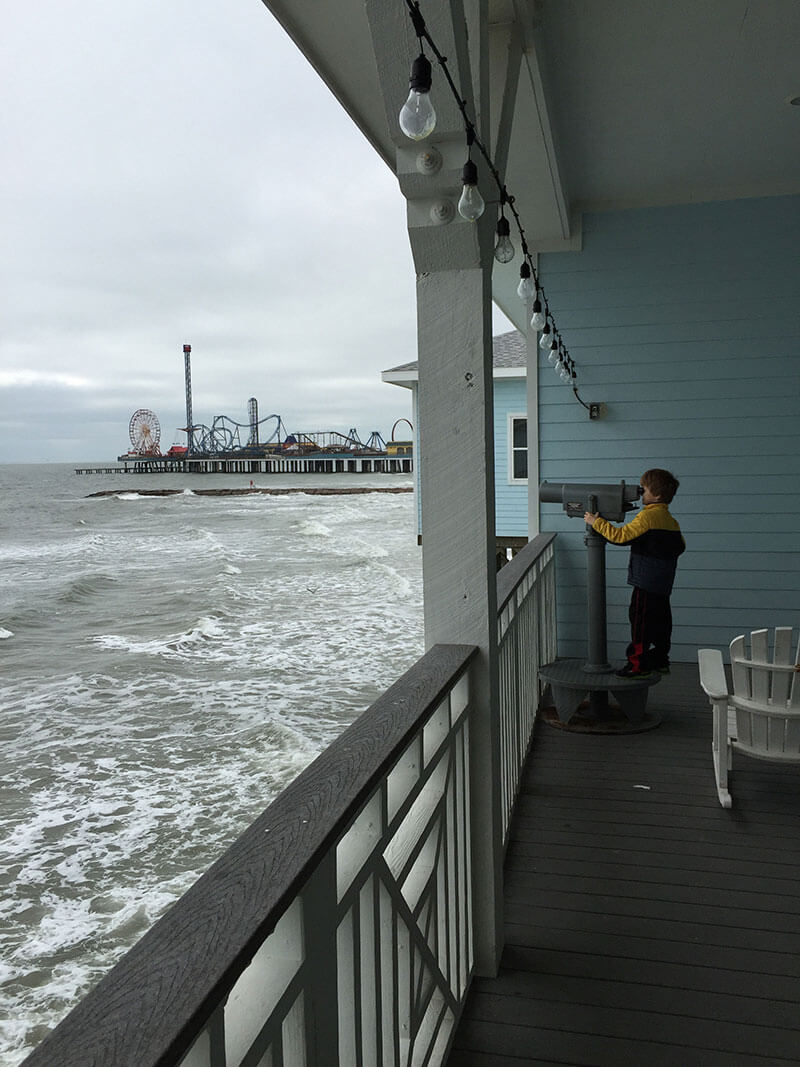
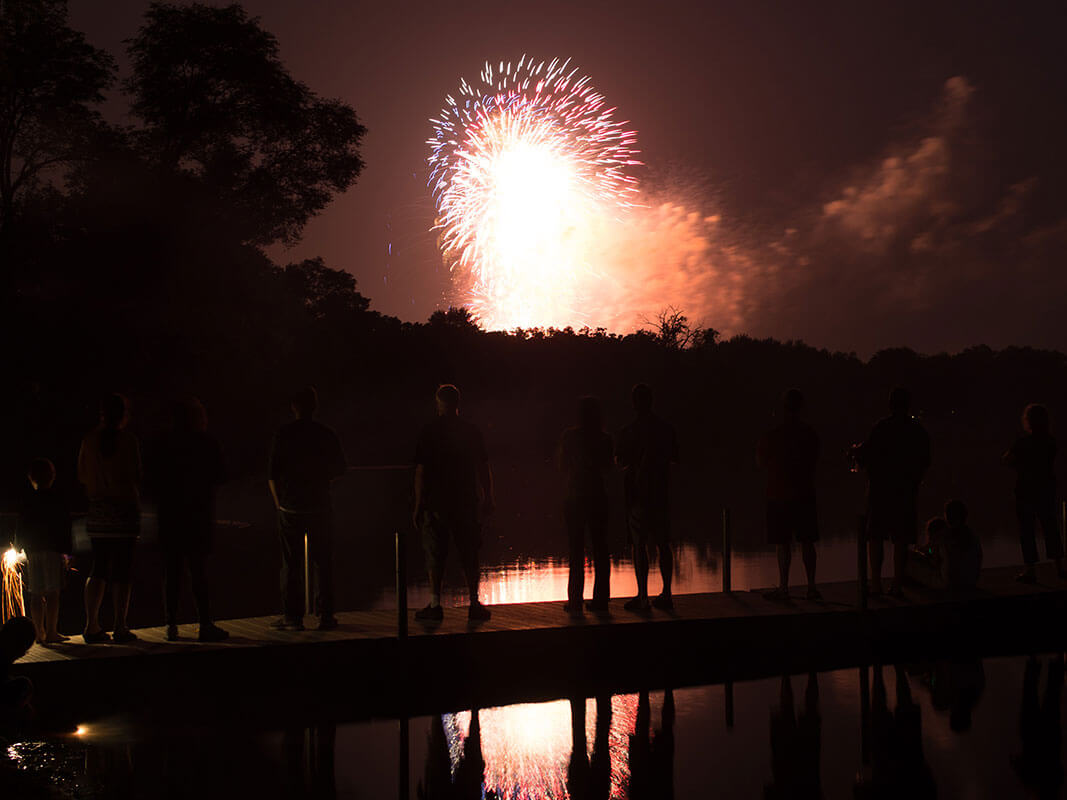
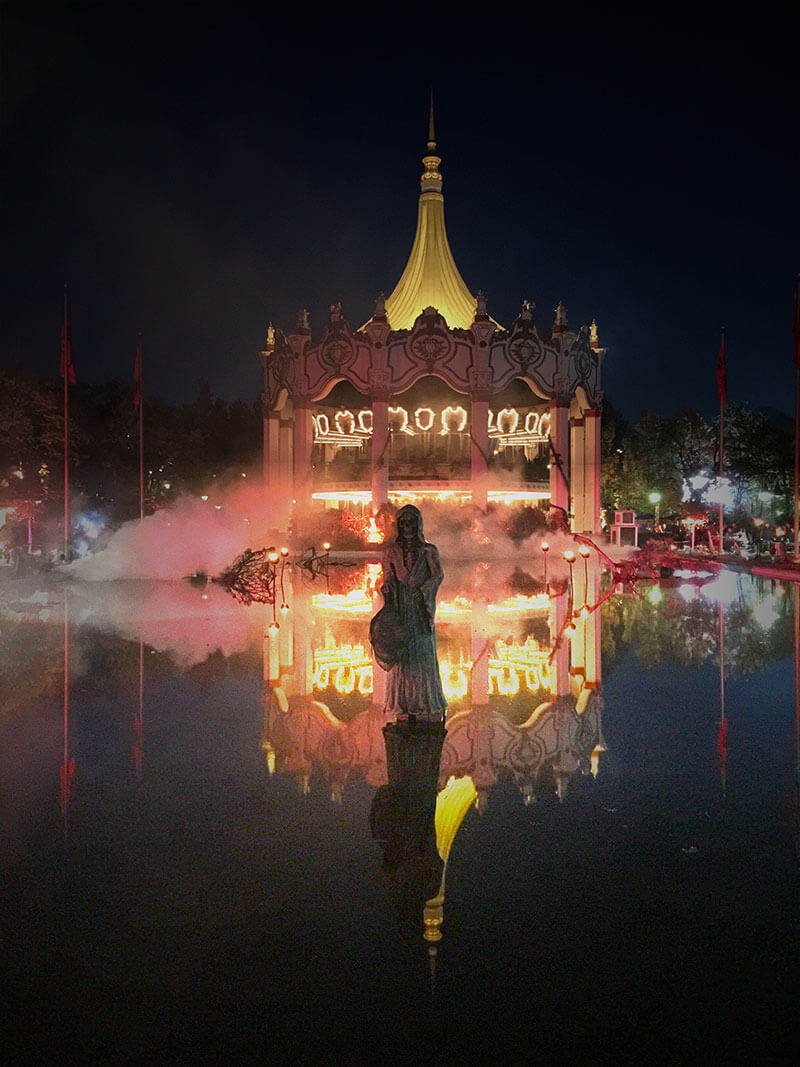
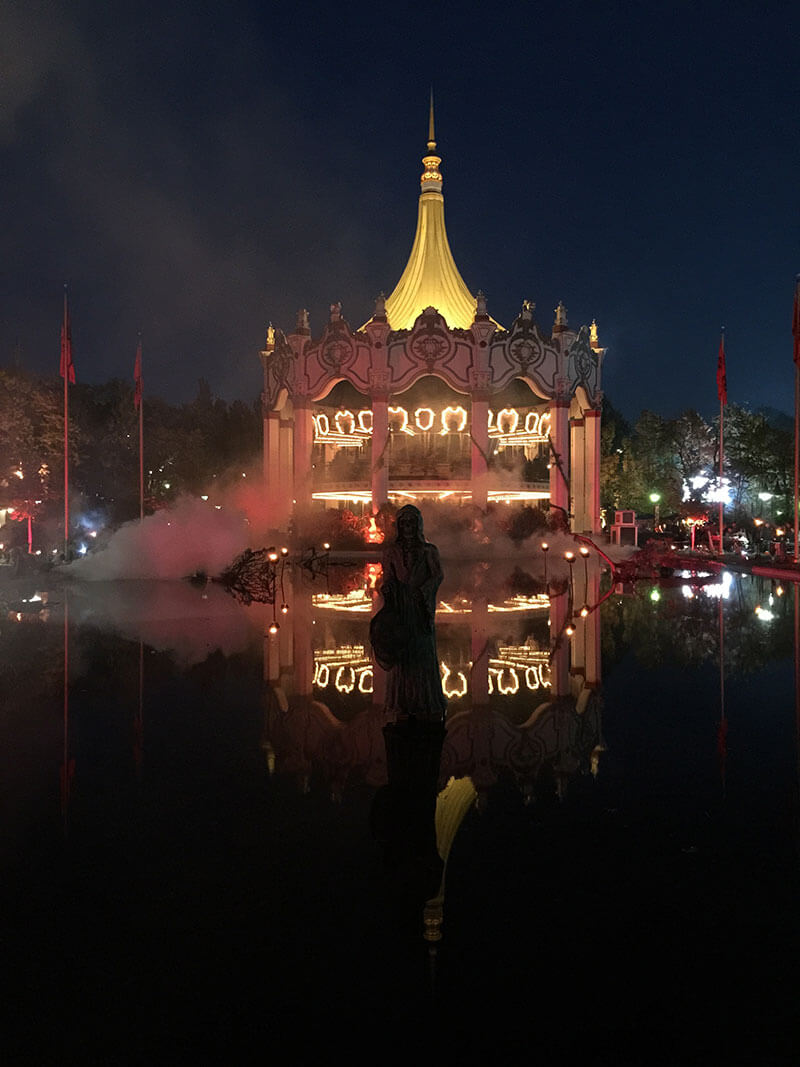
To see the full power of Pic Ninja review the examples above (Move the slider to see before and after). Visit our video tutorial section to see how some of these photos were created.